
BALING CHECKLIST · PRE-SEASON · IN-SEASON · END-OF-SEASON · AMERICA EVER-POWER
Hay Baling Season Checklist —
Pre-Season, In-Season, and End-of-Season Tasks
A complete hay baling season runs from the first pre-season equipment check in April through the last bale put in the barn in October — and the difference between an operation that bales every good weather window without interruption and one that loses production days to equipment problems almost always traces back to what was done (or not done) before the first cutting of the season. This checklist covers every task, organized by timing, for both round and square balers in the America Ever-Power 9YG and 9YF lineups.
Round Baler
Square Baler
AMERICA EVER-POWER · DALLAS TX PARTS DEPOT · 3-DAY DELIVERY US & CANADA
CHECKLIST OVERVIEW · BALING SEASON TASK TIMING
PRE-SEASON (4–6 WEEKS OUT)
April–May
Equipment inspection, wear part assessment, parts order, lubrication, tension check, test run, operator manual review. Allow 4–6 weeks for parts delivery and any repair work.
SESSION START (DAY OF)
Each cutting day
5-minute PTO shaft and lubrication check, twine/net wrap load verification, moisture check, 3 to 5 calibration bales, weight check before full session.
IN-SEASON INTERVAL
Every 8–20 hrs
PTO universal joint grease every 8 hrs. Chain tension and belt inspection every 20 hrs. Gearbox oil level monthly. Tine inspection every 50 hrs.
END-OF-SEASON
Oct–Nov
Full wash, gearbox oil change, belt tension release, PTO shaft storage procedure, wear assessment for next season parts order, storage building verification.
Pre-Season Equipment Inspection — 4 to 6 Weeks Before First Cutting
The pre-season inspection must be completed 4 to 6 weeks before the expected first cutting date — not the week before, and certainly not the morning of the first cutting. The 4 to 6 week lead time allows any parts identified as needing replacement to be ordered, received, and installed before the season starts, including standard 3-day parts delivery from the Dallas depot plus 1 to 2 days for installation of non-trivial components like belts or gearboxes. An inspection that reveals a worn belt 2 days before the first cutting is not a useful inspection — it is a crisis discovery that triggers an emergency order and a delayed season start.
Round Baler Pre-Season Checklist
- ✓ Belt condition — surface cracking, edge fraying, splice integrity
- ✓ Belt tension — verify tension at each belt’s mid-span deflection spec
- ✓ Pickup tine tip wear — compare to new tine profile
- ✓ Pickup rotor bearing play — axial and radial movement check
- ✓ All drive chain stretch measurement — 20-link pitch check
- ✓ Chain tensioner spring condition — replace any weakened springs
- ✓ Input gearbox oil level and visual seal check
- ✓ PTO shaft universal joint cross play and grease
- ✓ PTO guard bearing spin test — must rotate freely
- ✓ Slip clutch torque verification — per operator manual spec
- ✓ Net wrap or twine system — spool holder, sensor, cutter blade
- ✓ Hydraulic hose and fitting condition — no chafing or weeping
Square Baler Pre-Season Checklist
- ✓ Knotter tension disc springs — hand pull test (2–4 lb resistance)
- ✓ Cutter blade edge — replace if rounded or nicked
- ✓ Twine holder jaw wear — replace if visibly eroded
- ✓ Needle timing — manually cycle through and verify position
- ✓ Pickup tine tips — same wear check as round baler
- ✓ Density spring condition — free of cracks, correct compression
- ✓ Star-wheel knotter trip — verify engagement and smooth rotation
- ✓ Input gearbox oil and all chain tension checks
- ✓ PTO shaft — same universal joint and guard checks
- ✓ Twine guide tubes — clean, no burrs that fray twine
- ✓ Bale chute and ejection mechanism — no binding or corrosion
Pre-Season Parts Order and Lead Time Planning
After the pre-season inspection, every item identified as needing replacement or that is within 20 percent of its replacement threshold should be ordered immediately — not at the moment of failure in the field. Parts ordered 4 to 6 weeks before the first cutting arrive with time for installation and a test run before the season pressure begins. Parts ordered during the season arrive during a production window that the operation cannot afford to pause.
Beyond replacement items identified in the inspection, a standard pre-season consumables order for a round baler operation producing 1,000 to 2,000 bales per season should include: 2 to 3 PTO universal joint cross kits, 1 chain master link assortment (all chain sizes used on the baler), 1 set of spare pickup tines (enough for one complete tine bar), 1 PTO guard bearing kit, and the season’s supply of net wrap or twine. For a square baler operation, add to this list: 2 spare cutter blades, 2 sets of twine tension disc springs, 1 spare twine holder assembly, and the season’s twine supply. The Dallas, TX parts depot stocks all these items for 3-day delivery — a pre-season order placed online or by phone in April arrives before any reasonable first cutting date in the continental US.
The pre-season parts order for a complete hay chain — mower, rake, and baler — should also include mower blade or disc replacement if wear was identified at the mower inspection, and rake tine replacement for any rake that showed tip wear at inspection. A hay chain where the mower and rake are fully serviced but the baler fails during the first cutting has not reduced the season’s weather risk any more than a chain where none of the equipment was serviced — all three links must be in full operating condition for the complete hay operation to proceed without interruption.
Session-Start Checklist — What to Do Before Every Baling Day
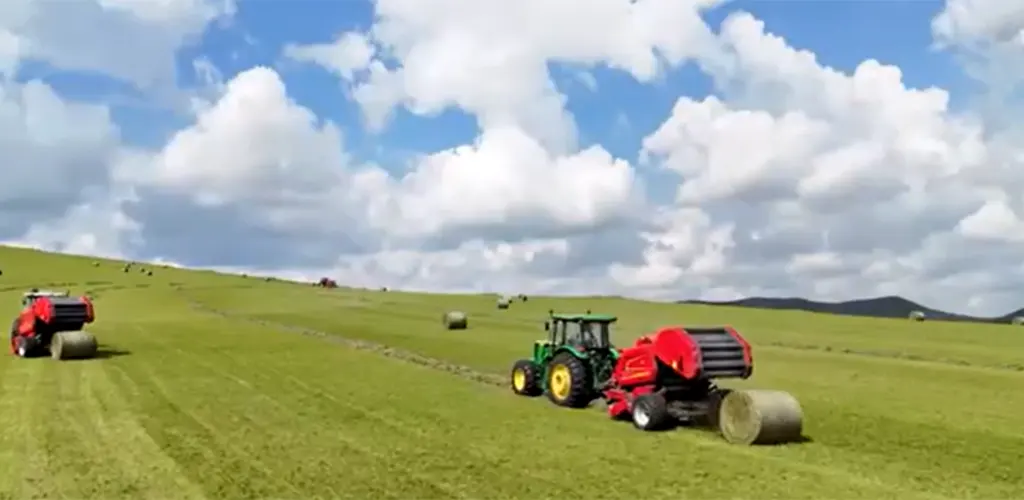
The session-start checklist takes 10 to 15 minutes at the beginning of each baling day and catches the most common single-session failure causes — insufficient lubrication from the previous session, a loose chain or belt that developed play overnight, and a twine or net wrap supply that is insufficient to complete the planned session without a supply stop.
Every Baling Day — Session Start (10 Minutes)
- ✓ PTO shaft: Visually inspect for obvious damage. Grease all joints if last grease was more than 6 hours of operation ago. Confirm guard spins freely.
- ✓ Twine/net wrap: Confirm sufficient supply for the planned session. Thread twine if changing from a new ball — verify the full path before starting.
- ✓ Field moisture check: Test forage moisture at 3 to 5 windrow locations. Confirm within target range before starting the baling pass.
- ✓ Belt/chain visual: Walk around the baler and look for any obvious belt damage, chain droop, or loose hardware from the previous session. Nothing needs measurement — this is a visual pass only.
- ✓ Calibration bales: Bale 3 to 5 bales at the start of each session. Weigh and visually inspect before committing to the full session at current settings.
- ✓ Spare kit on tractor: Confirm the on-tractor spare kit is present — universal joint cross, chain master link, for square balers add cutter blade and tension disc springs.
In-Season Maintenance by Interval — 8, 20, and 50 Hours
Three maintenance intervals govern the in-season upkeep of the baler: every 8 operating hours (one full baling day), every 20 hours (2 to 3 baling days), and every 50 hours (approximately one week of intensive baling). Completing each interval on schedule prevents the compounding wear that occurs when one neglected service interval loads the next component in the driveline with higher stress than it was designed to sustain continuously.
Every 8 Operating Hours (End of Each Full Baling Day)
- ✓ Grease all PTO universal joint crosses until fresh grease purges from all 4 bearing seals
- ✓ Grease PTO sliding spline section — 3 to 4 pumps while manually cycling spline
- ✓ Grease pickup rotor bearings per operator manual spec
- ✓ Square baler: check twine tension disc spring resistance by hand pull test
Every 20 Operating Hours (Every 2–3 Full Baling Days)
- ✓ Check all drive chain tension — press at mid-span, verify deflection within spec
- ✓ Lubricate all chain runs with chain oil or light grease
- ✓ Round baler: check belt tension at each belt mid-span
- ✓ Inspect belt surface on one full pass around the chamber — look for new cracking
- ✓ Check hydraulic pickup lift for smooth full-range operation
Every 50 Operating Hours (Approximately Weekly at Peak Baling Rate)
- ✓ Inspect all pickup tines for tip wear — replace any tine with 20%+ tip loss
- ✓ Check gearbox oil level — add if below sight glass minimum
- ✓ Lubricate all chassis grease points per operator manual lubrication chart
- ✓ Square baler: inspect knotter cutter blade and twine holder jaw
- ✓ Inspect all PTO shaft hardware — bolts, retaining rings, safety pins — for presence and condition
Between-Cutting Tasks — What to Do Between the 1st and 2nd Cutting
The 3 to 5 week interval between the first and second cuttings on a typical cool-season hay farm provides the best opportunity for mid-season maintenance that cannot be completed during an active baling session. The baler is accessible, the time pressure is lower than during the cutting itself, and any wear items identified during the first cutting can be addressed before the second cutting adds to the cumulative total.
Between-cutting tasks for a round baler include: a complete 20-point lubrication service covering all grease fittings in the lubrication chart; a belt tension verification and adjustment to compensate for any tension loss from the first cutting’s operating hours; a chain stretch measurement to identify any chain that approached the replacement threshold during the first cutting; and a pickup tine assessment to determine whether any tine bar should be replaced before the second cutting’s additional bale count puts tines past their replacement threshold mid-session.
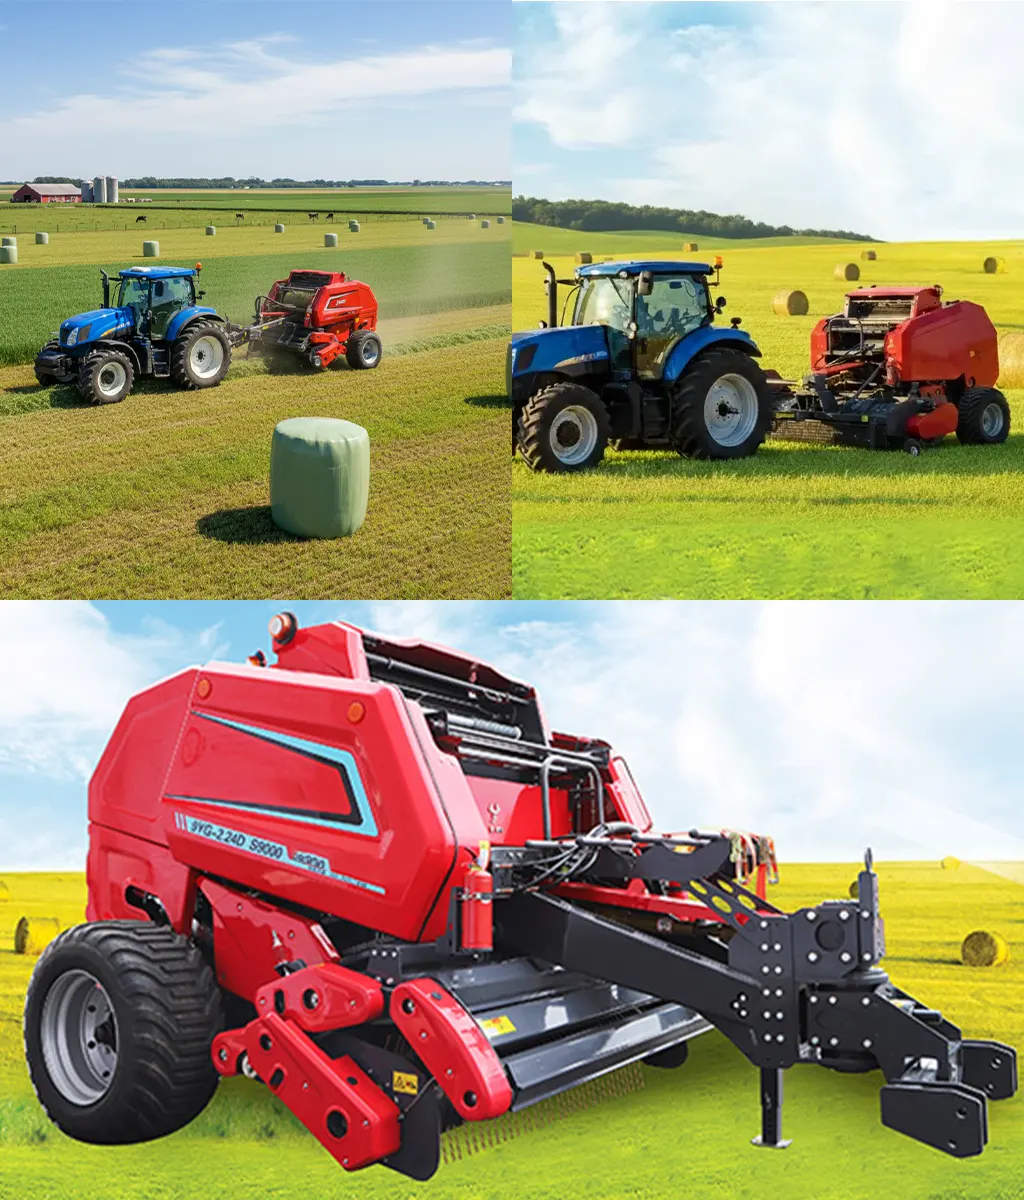
For square balers, the between-cutting interval is the correct time to change the twine tension disc springs if any marginal spring feel was noted during the first cutting — the spring check-and-replace takes 15 minutes and eliminates the most common single cause of second-cutting knotter problems. The between-cutting interval is also the time to replace twine ball supplies and to verify that the star-wheel trip engagement is correct for the target bale length of the second cutting, which may differ from the first cutting if a different crop is being baled or if the target market changed between cuttings.
For square balers, the between-cutting interval is the correct time to change the twine tension disc springs if any marginal spring feel was noted during the first cutting — the spring check-and-replace takes 15 minutes and eliminates the most common single cause of second-cutting knotter problems. The between-cutting interval is also the time to replace twine ball supplies and to verify that the star-wheel trip engagement is correct for the target bale length of the second cutting, which may differ from the first cutting if a different crop is being baled or if the target market changed between cuttings.
The between-cutting period is also the time to review bale weight records from the first cutting and adjust the density spring setting before the second cutting starts. Many hay operations find that the first cutting produces slightly lighter or heavier bales than the target weight — partly because the pre-season density spring setting was a starting estimate rather than a calibrated position, and partly because the first cutting’s specific crop condition and moisture differed from what was assumed when the spring was set. Using the first cutting’s average bale weight data to adjust the density spring 1 to 2 clicks before the second cutting session produces more consistent bale weights across the full season and reduces the number of calibration bales needed at the start of each session. Record the spring position, the crop type, the average moisture at baling, and the resulting average bale weight at each cutting — by the end of the second season, the operation has a calibration log that allows setting the spring to within 2 lb of the target weight on the first calibration bale of any subsequent session on the same crop and field.
End-of-Season Storage Checklist
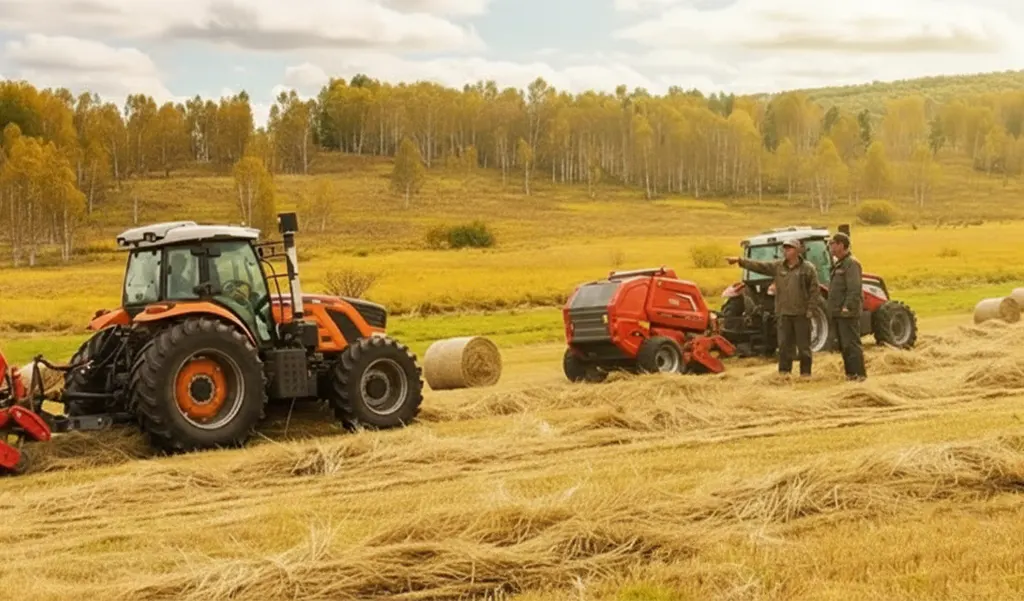
The end-of-season storage procedure determines the condition of the equipment at the start of next season and the cost of the pre-season service the following year. A thorough end-of-season service reduces next year’s pre-season service from a 3-hour inspection-and-service event to a 1-hour walk-around and test-run.
End-of-Season Storage Checklist — Both Baler Types
- ✓ Full wash: Power wash the entire machine exterior, removing all crop debris, soil, and chaff from chain runs, belt pulleys, and frame crevices. Dried crop debris traps moisture and accelerates corrosion during storage.
- ✓ Gearbox oil change: Drain the input gearbox and refill with fresh GL-4 80W-90 gear oil before storage. Old oil contains acid breakdown products and metal particles that accelerate bearing and gear surface corrosion during the stationary storage period.
- ✓ Belt tension release: Reduce all belt tensioners to minimum tension before storage. Storing belts under full operating tension for 6 months causes permanent set that reduces belt flexibility at startup.
- ✓ Chain lubrication: Apply chain oil to all chain runs and manually cycle each chain through several rotations to distribute oil across all link bushings before the machine sits stationary for winter.
- ✓ PTO shaft storage: Grease all crosses and spline. Hang the shaft in a dry area at 60% extension. Cover the tractor-end yoke with a plastic bag.
- ✓ Wear assessment for next season: While the machine is clean and accessible, assess all wear items and note which components will need replacement before next season. Place the parts order immediately — 6-month lead time before the next season’s first cutting.
- ✓ Storage location: Move the baler into a dry building. If outdoor storage is unavoidable, cover the entire machine with a tarpaulin and place wooden blocks under the frame to lift the machine off direct soil contact.
All parts identified at the end-of-season assessment — for the round baler, the square baler, and the full hay equipment chain — are stocked at the America Ever-Power Dallas, TX parts depot. An end-of-season order placed in October or November arrives before December for a full winter of lead time before next April’s pre-season service. Agricultural gearbox specialists at the same depot handle gearbox replacement and rebuild needs for all models in the lineup with the same 3-day delivery commitment.
Ready to Order Pre-Season or End-of-Season Parts?
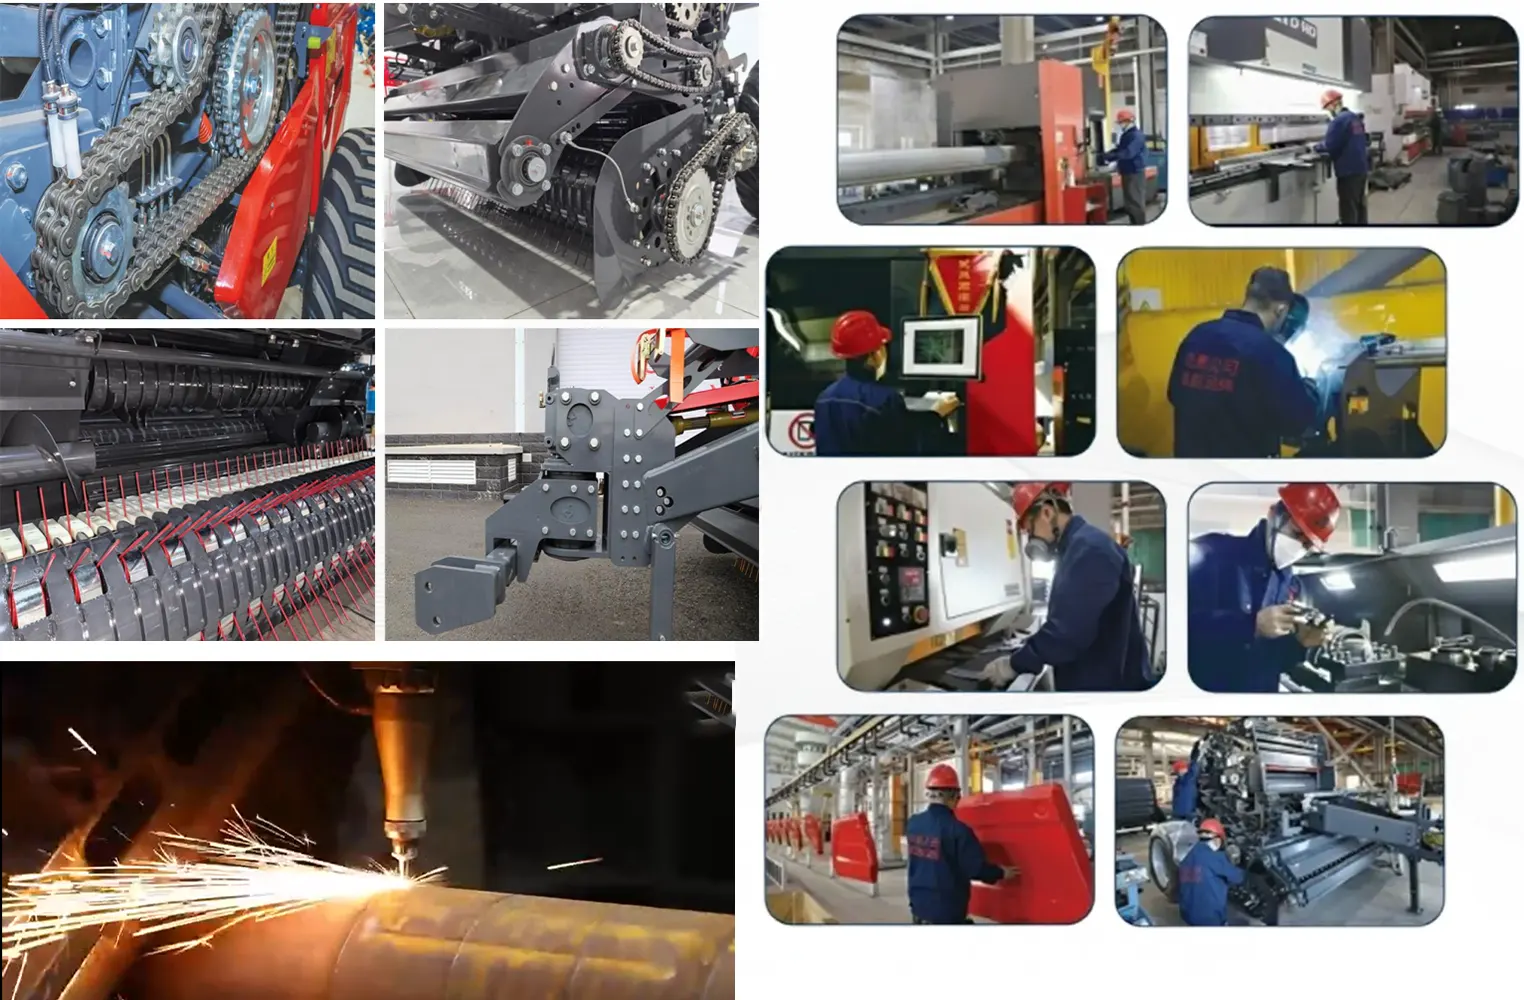
Tell us your baler model and the components identified in your inspection. We will confirm part numbers, verify stock, and ship from Dallas, TX within 3 days to any US or Canadian address. Pre-season orders placed before April ensure parts arrive before first-cutting pressure begins.
Editor: Cxm